photo tutorial 1
here is my attempt at an intro photo tutorial. please note you probably need at least some background in photo terms. i’ve posted my iphoto image info in each photo so you can see what my settings were. the setting i care about the most? aperture. it’s what makes the background blurry or not blurry. a lower aperture, the blurrier the background.
i used two of my lenses for this: my canon 50 mm f/1.4 and my tamron 28-75mm f/2.8. your average kit lens has a f/3.5-5.6, so you can see my priorities when i buy lenses!
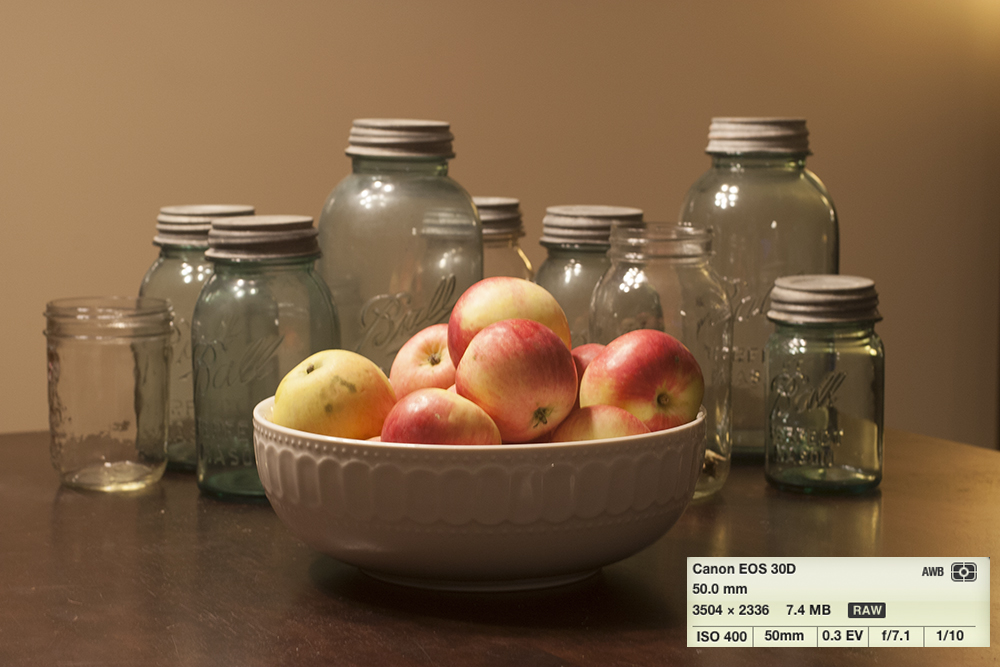
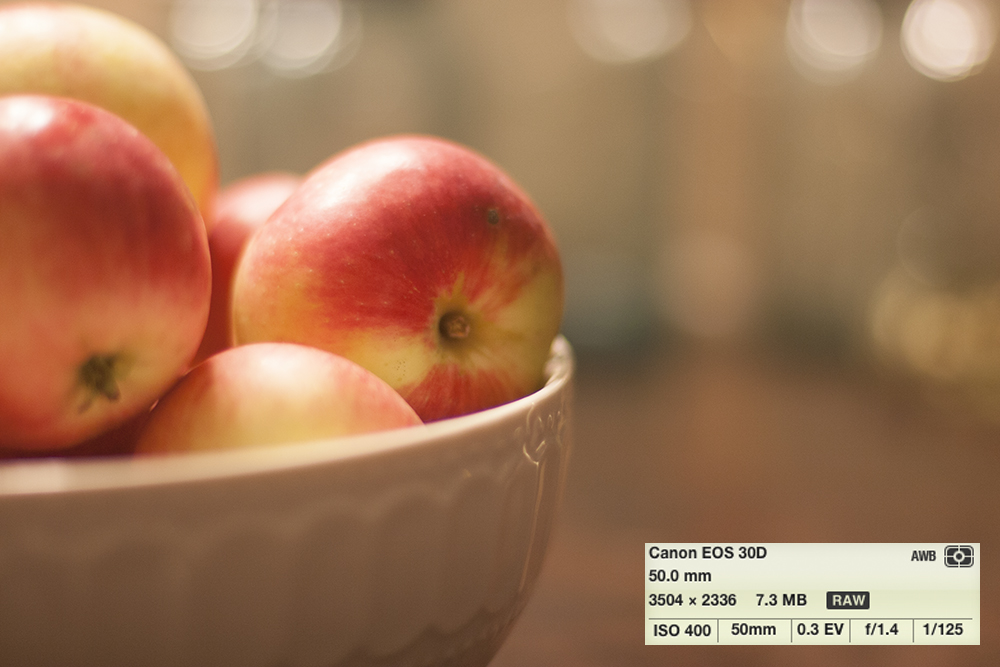
so, we’re going to take pictures of apples. fair enough. we can set up a photo and take a pic of apples in front of an interesting background. in this case, mason jars. tada! but, a little boring. the f-stop is set at 7.1, which means there is no depth to the photo. it’s a little still-life-esque.
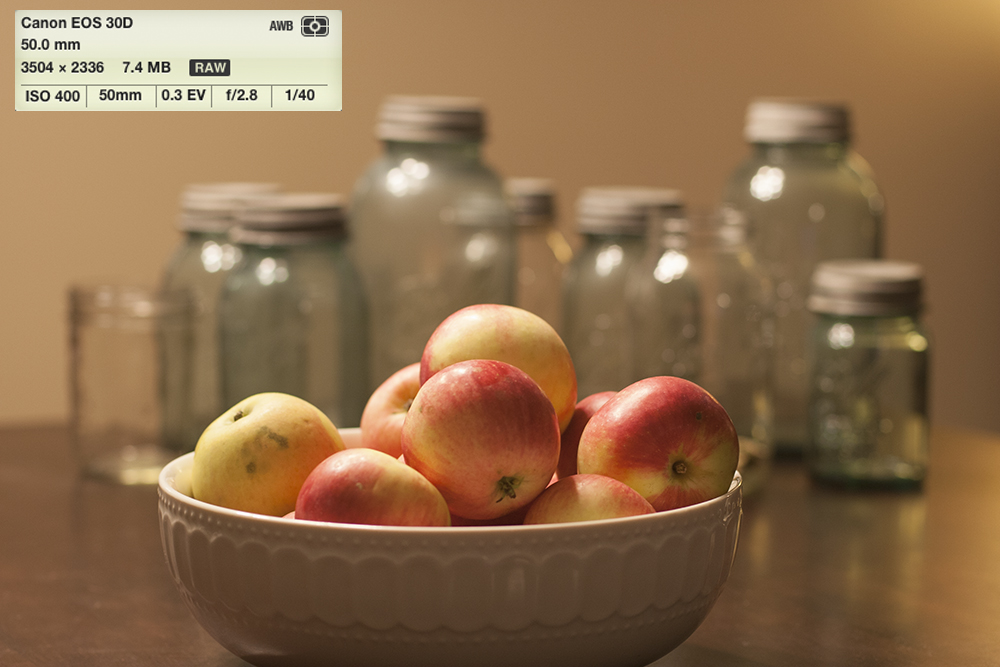
let’s make it a little more interesting and make some space between the apples and jars. this is a lot more interesting. i set my aperture lower for two reasons here: 1. the lighting in my kitchen at night sucks, and a lower aperture will speed up the shutter and keep my image crisp, and 2. i want a blurry-ish background. going from a 7.1 to 2.8 aperture helped out a ton.
this is an ok picture. it’s still a little boring.
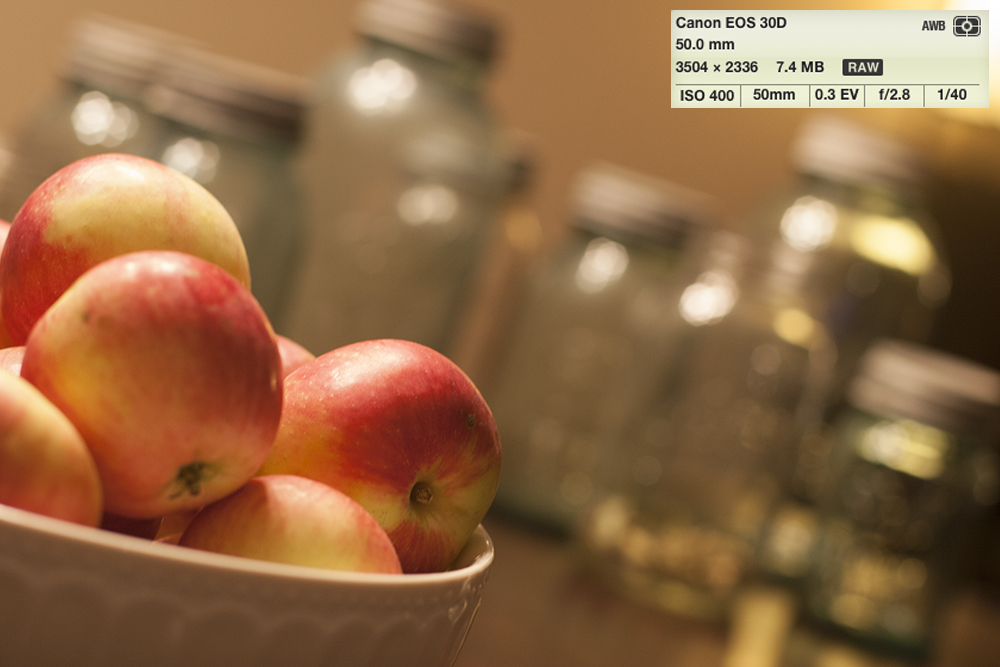
let’s create a little more interest, and off-center those apples. now we’re starting to get somewhere.
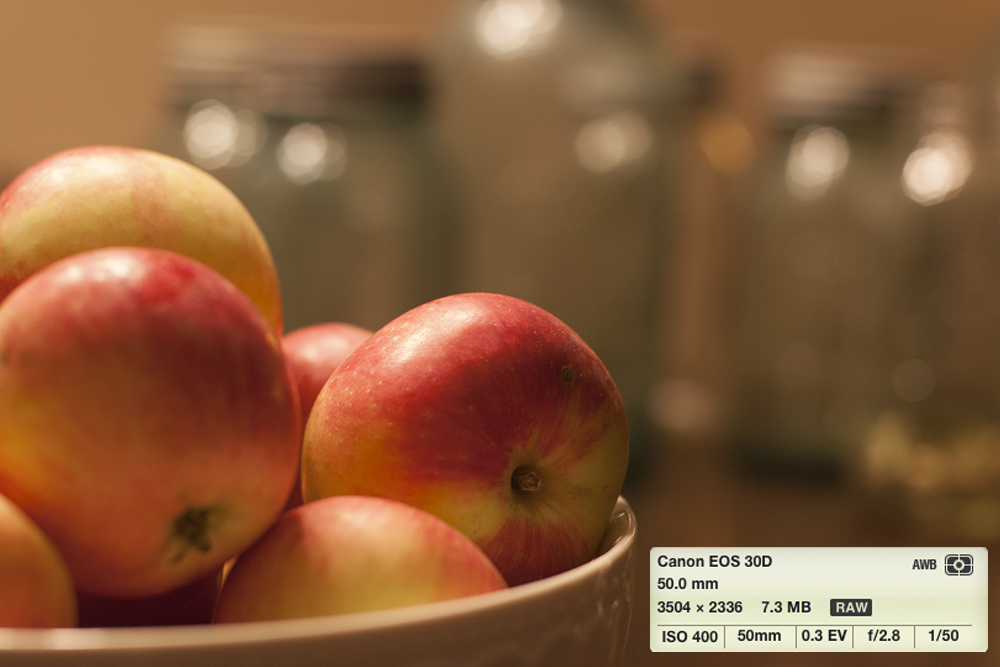
ok, even more interest? how about angling the camera so we see more of the jars in the background, especially the tall one on the right. at this point, all the pics but the first have been taken with the 50mm lens at f/2.8.
this photo i’ve lowered my f-stop to the lowest it can go, 1.4. it creates an almost surreal looking photo, with a pinpoint of focus.
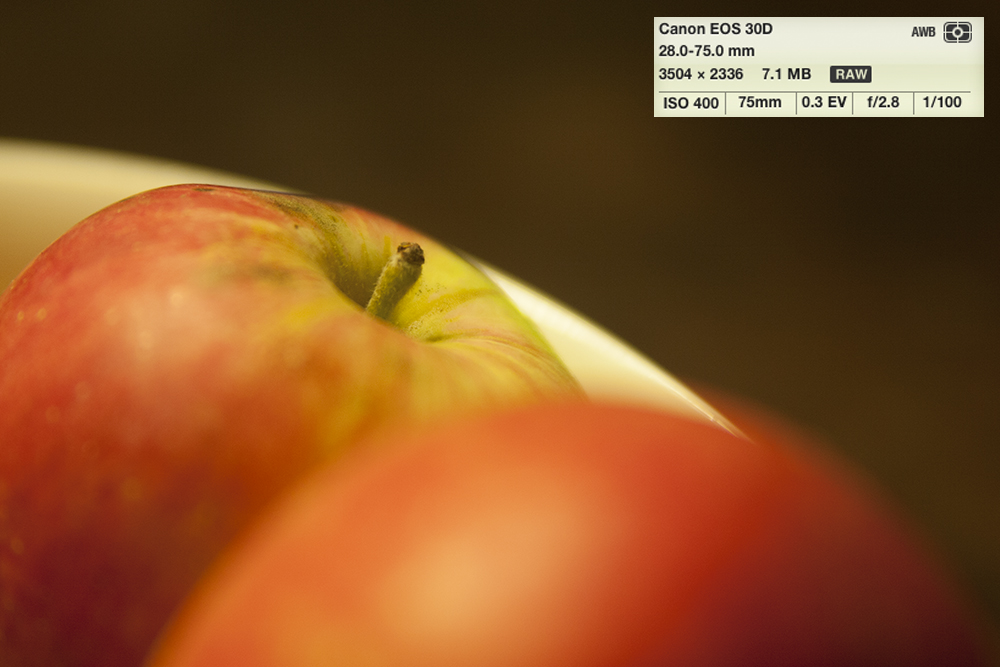
but what if we want more of the apple in the picture? unfortunately, this is as close as i can get to the apples with my 50mm before my focus runs out. time to bust out the tamron.
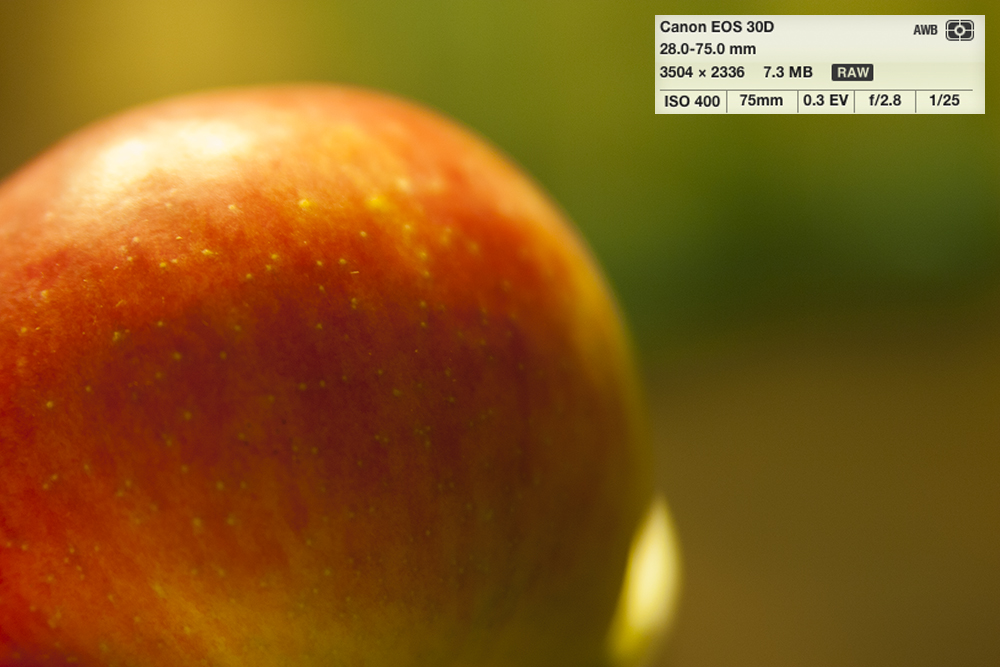
macro time! the tamron isn’t a true macro, but it does great close-up work. for it to work its best, you need to zoom all the way out to 75mm and then get as close as the focus will let you. apparently this photo session, i liked to weight things on the left side.
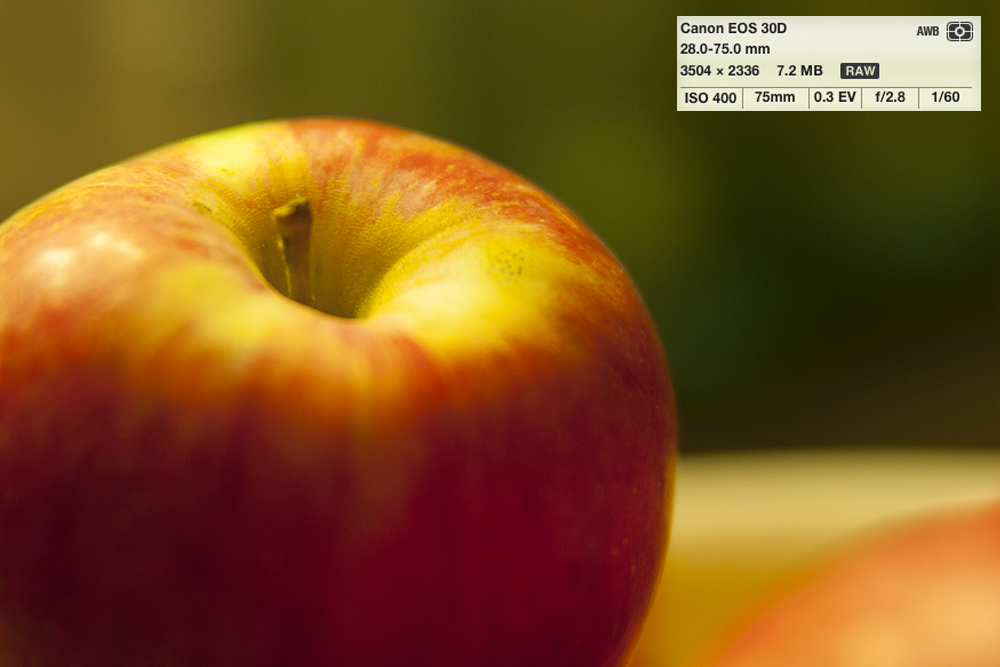
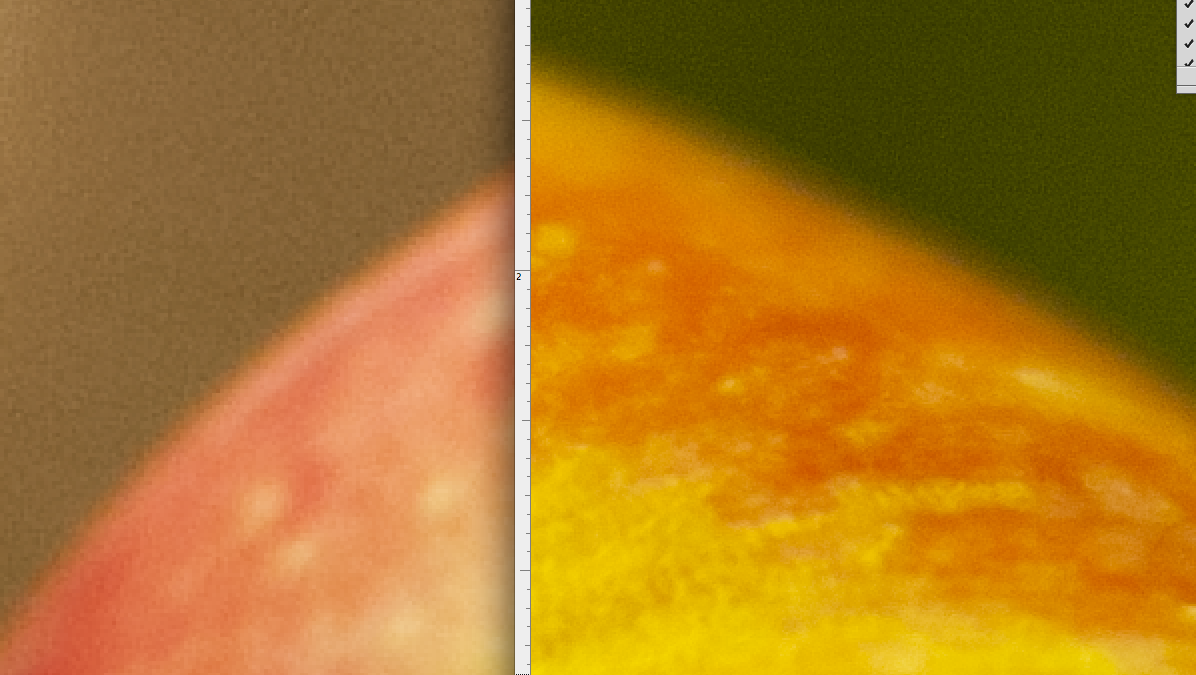
if there is one thing to be said for the canon, it’s that it does create a slightly crisper image, one that you probably won’t catch unless you’re looking for it. in the image below, the canon is on the left, the tamron on the right. there is a bit of a more defined edge on the canon’s image. the average joe schmo isn’t going to notice.
that’s all i’ve got for now!
One thought on “photo tutorial 1”
Thanks! that was helpful